

Why track Cal.com bookings in Cometly
Cal.com bookings are often a key conversion point for demos, sales calls and consultations. Setting this up correctly allows Cometly to:- Attribute bookings to ads and UTMs
- Match booked meetings to user email addresses
- Send accurate conversion events to ad platforms like Meta Ads
Before you start
- Install the Cometly pixel (the tracking script that records visits to your site) on your site, including the success or thank-you page you redirect to after a booking. See Install and verify the Cometly pixel.
Step 1: Open your Cal.com event type
- Log in to your Cal.com account.
- Go to Event Types.
- Click the specific event you want to track.
Step 2: Require email on the booking page
- Open Advanced Scheduling Options.
- Make sure the Email address field is enabled and required on the booking form.
Step 3: Enable redirect on booking
- Scroll down to the Redirect on Booking section.
- Toggle Redirect on booking on.
- Enter your success or thank-you page URL (for example
https://example.com/booking-confirmed). - Enable Forward parameters (email, name and so on).
Step 4: Create a webhook in Cal.com
- In the same event, go to Webhooks.
- Click New Webhook.
- Remove any pre-selected triggers.
- Select Booking Created as the trigger.
- Leave the Subscriber URL empty for now.
Step 5: Create the event in Cometly
- In Cometly, click Events Manager in the sidebar.
- Click Create Event.
- Under App / Integration, select Webhooks.
- Select the event name:
- Use Schedule (recommended), or
- Click Create New Event to create a custom event for a specific calendar.
- Optionally add an event description, for example “Cal.com booking via webhook”.
- Click Create.
Step 6: Copy the Cometly webhook URL
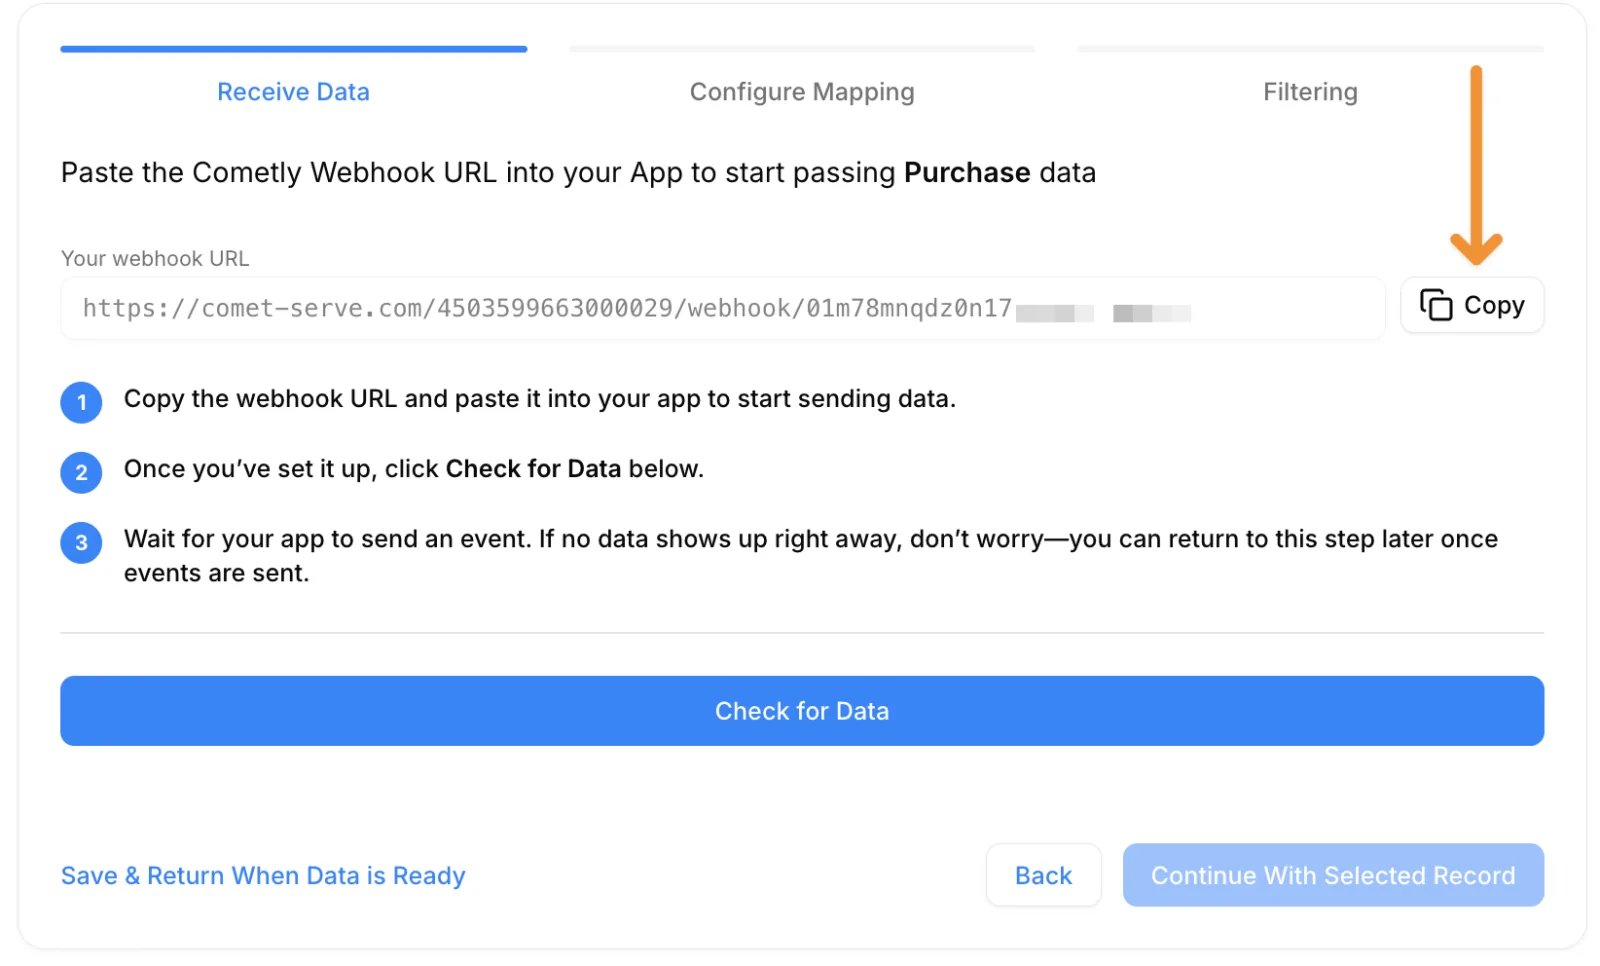
- In the Events Manager, click Configure on the event you just created.
- Next to Your webhook URL, click Copy.
Step 7: Connect the webhook to Cal.com
- Go back to your Cal.com webhook setup.
- Paste the Cometly webhook URL into the Subscriber URL field.
- Click Ping Test.
- Confirm the webhook test passes.
Step 8: Map fields in Cometly
- Return to Cometly and click Check for Data.
- Select the incoming webhook record and click Continue With Selected Record.
- Map the required fields: Email and Event Time.
- Optionally click Add Field and map:
- Full Name
- Phone (if sent)
- Click Save & Continue.
- On the Filtering step, click Activate.
If a field (like phone number) is not included in the webhook payload, you can safely skip it.
Step 9: Confirm the webhook is saved in Cal.com
Make sure the webhook is saved and enabled in Cal.com after testing. Once saved, bookings for this Cal.com event are tracked in Cometly and attributed correctly. Repeat this process for each of the other events in your Cal.com account that you want to track.Check it worked
Open Events Manager in Cometly. Your webhook event shows a switch that is turned on in the Status column. Make a test booking in Cal.com, then open the Events Log tab: the booking appears there within 60 seconds, with SUCCESS in the Details column.Frequently asked questions
How long does it take for a Cal.com booking to show up in Cometly?
The booking shows in the Events Log within 60 seconds of Cal.com sending it. It can take up to 15 minutes to appear in the reporting areas, such as the Report Builder or Ads Manager.Why is my test Cal.com booking not showing in Cometly reports?
Test data sent before the webhook was activated is not processed and does not appear in your reports. Finish the mapping, click Activate, then make a new test booking.What if the Cal.com webhook data has no event time to map?
Choose The time we receive the event for Event Time. Cometly then uses the time the booking arrives as the event time.Next steps
- Set up mapping, formatting and filters in the Cometly webhooks guide
- Use the Events Log to check incoming bookings
- Learn how events work in Cometly
- Install and verify the Cometly pixel