

Activate the API and create a token
You need the Administrator or Owner role in the space to see the Cometly API card.- In Cometly, click Integrations in the left sidebar.
- Select the Webhooks & API category and click the Cometly API card.
- Click Activate Cometly API.
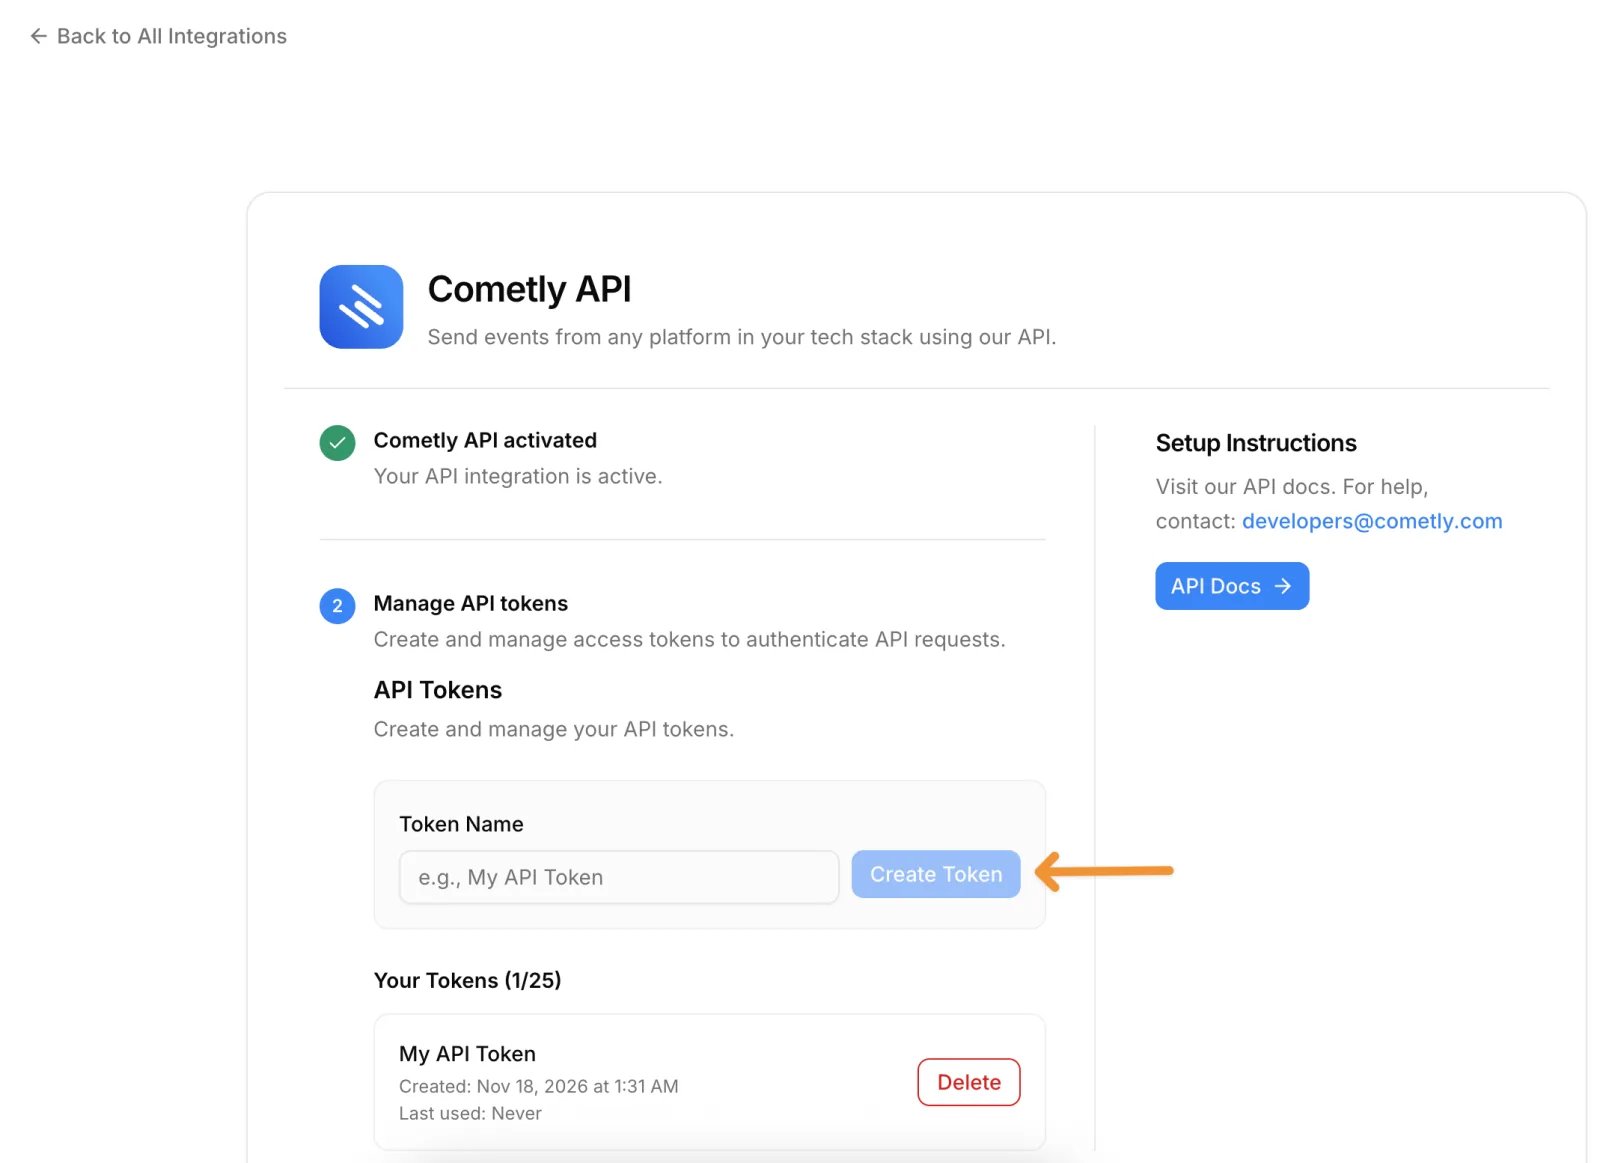
- Under Manage API tokens, enter a Token Name and click Create Token.
- Copy the token straight away. For security reasons, it is not shown again.
Check it worked
The Cometly API card now shows Cometly API activated, and your new token appears under Your Tokens with its created date. After your application sends its first request, the token’s last used date tells you when it was last used.Frequently asked questions
Should I use the Cometly API or a webhook to send events?
Use a webhook for most integrations: you set it up in Cometly without writing code, and it works with any platform that can send webhooks. Use the API for custom implementations where you need full control over when and how events are sent, such as server-side tracking from your own application. Sending data to Cometly compares the two.How do I use my Cometly API token in a request?
Send the token in theAuthorization header of every request, using the Bearer scheme. Authentication lists the required headers with an example request. For help with the API, contact developers@cometly.com.
How many API tokens can I create in Cometly?
A space can hold up to 25 API tokens at a time. When you reach that number, delete a token you no longer need before you create a new one. A separate, clearly named token for each application makes it easy to delete one without affecting the others.Next steps
- API reference overview
- Authentication
- Sending data to Cometly
- Create an event with the API
- Cometly webhooks integration