

Before you start
- Set up form tracking for your Gravity Forms. Follow the Gravity Forms form tracking guide.
- Check that your Gravity Forms license includes the Webhooks Add-On. It is typically included in higher-tier licenses. If you do not have it, or you prefer Zapier, use the Zapier integration instead.
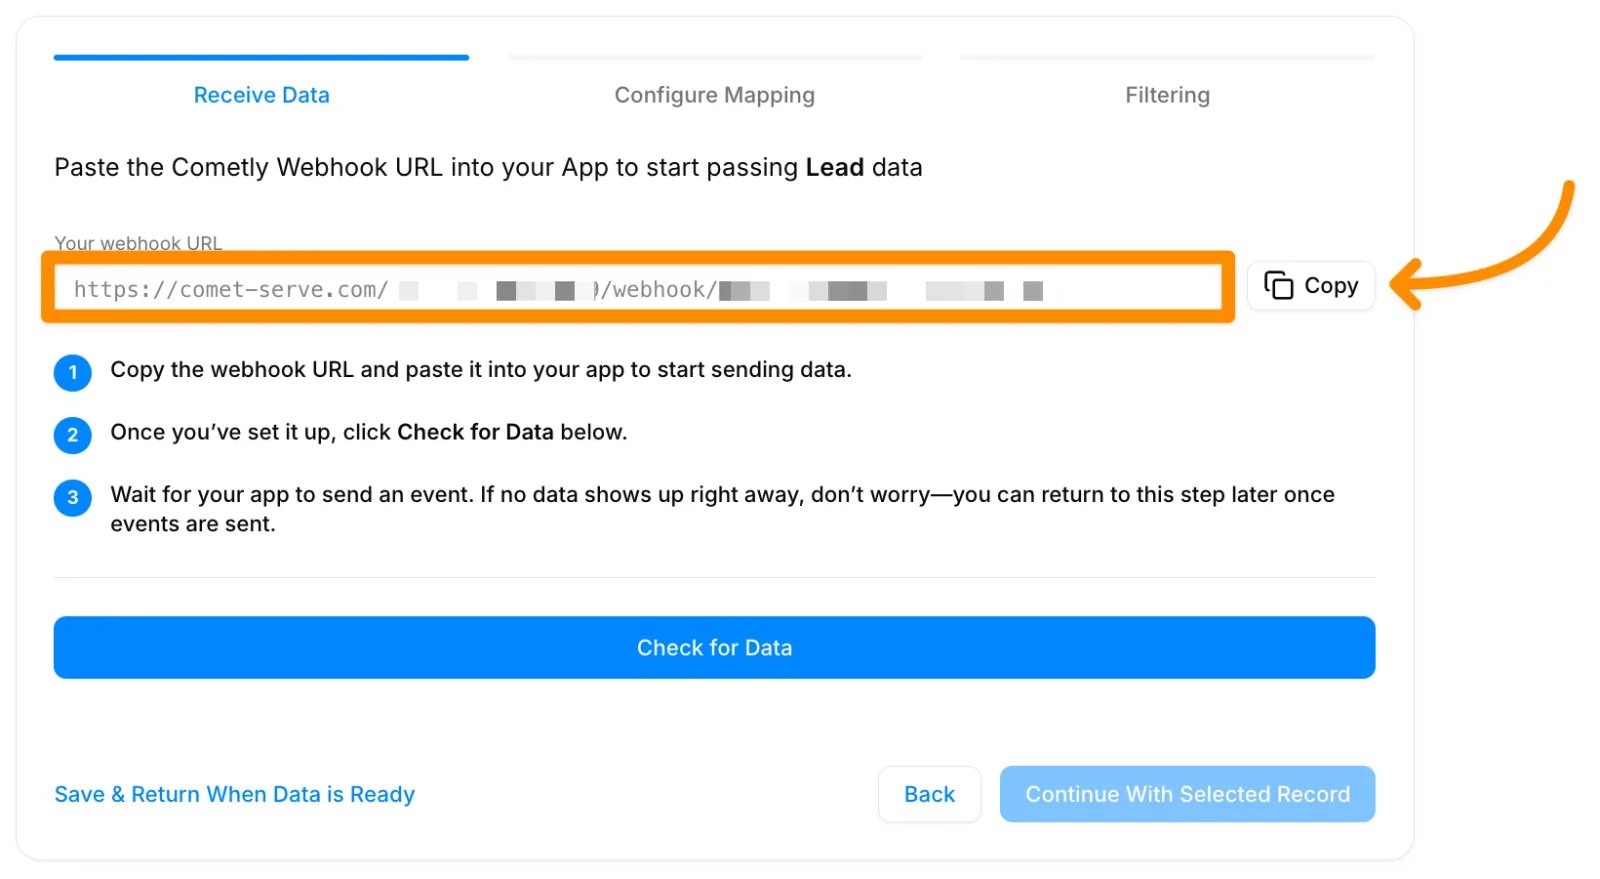
- Get your Cometly webhook URL. In Cometly, go to Events Manager, click Create Event, choose Webhooks under App / Integration, pick the event name and click Create. Then click Configure next to the new event and copy the URL shown under Your webhook URL. The Cometly webhooks guide covers this in detail.
Connect Gravity Forms to Cometly with a webhook
1
Install and activate the Webhooks Add-On
- In WordPress, go to Forms > Add-Ons.
- Find the Webhooks Add-On and click Install (if it is not already installed).
- Activate the add-on.
2
Add a new webhook feed
- Open the form editor for the form you want to connect.
- Click Settings (under your form name) and select Webhooks.
- Click Add New to create a new webhook feed.
3
Configure the webhook
- Name the feed: Something like
Cometly Webhook. - Request URL: Paste your Cometly webhook URL.
- Request Method: Choose POST.
- Request Format: Set to JSON.
- Header Configuration: Nothing is required here.
- Conditional Logic (optional): If you only want to send submissions under certain conditions, enable conditional logic and set your rules. Otherwise, leave it disabled.
4
Save and test
- Click Save Settings.
- In Cometly, on the event’s Receive Data step, click Check for Data.
- Submit a test entry on your Gravity Form.
- Confirm the submission appears in Cometly.
Finish the webhook in Cometly
Once the test submission has arrived, finish the event setup in Cometly. The Cometly webhooks guide has detailed instructions for:- Selecting the test record and continuing.
- Mapping the webhook data to the right Cometly fields.
- Adding filters so only the submissions you want are tracked.
- Activating the event.
Check it worked
In Events Manager, your webhook event shows a switch that is turned on in the Status column. Submit a new entry on your Gravity Form, then open the Events Log tab: the event appears there within 60 seconds, with SUCCESS in the Details column.Frequently asked questions
How long does it take for a Gravity Forms submission to show up in Cometly?
The event shows in the Events Log within 60 seconds of being sent. It can take up to 15 minutes to appear in the reporting areas, such as the Report Builder or Ads Manager.Why is my Gravity Forms test submission missing from my Cometly reports?
Test data sent before the webhook event was activated is not processed and does not appear in your reports. Activate the event first, then submit a new entry on your form and look for it in the Events Log tab of Events Manager.Do I still need the Cometly pixel on my form if I use the webhook?
Yes, set up both. The Cometly pixel (the tracking script on your website) captures page views and the fields your visitors fill in, and the webhook sends the submission to Cometly as an event. The Gravity Forms form tracking guide shows how to add the pixel to your form.Next steps
- Map fields, add filters and activate your webhook event
- Use the Events Log to check incoming events
- Add the Cometly pixel to your Gravity Forms form
- Send events to Cometly with Zapier instead
- Learn how events work in Cometly