

Create events
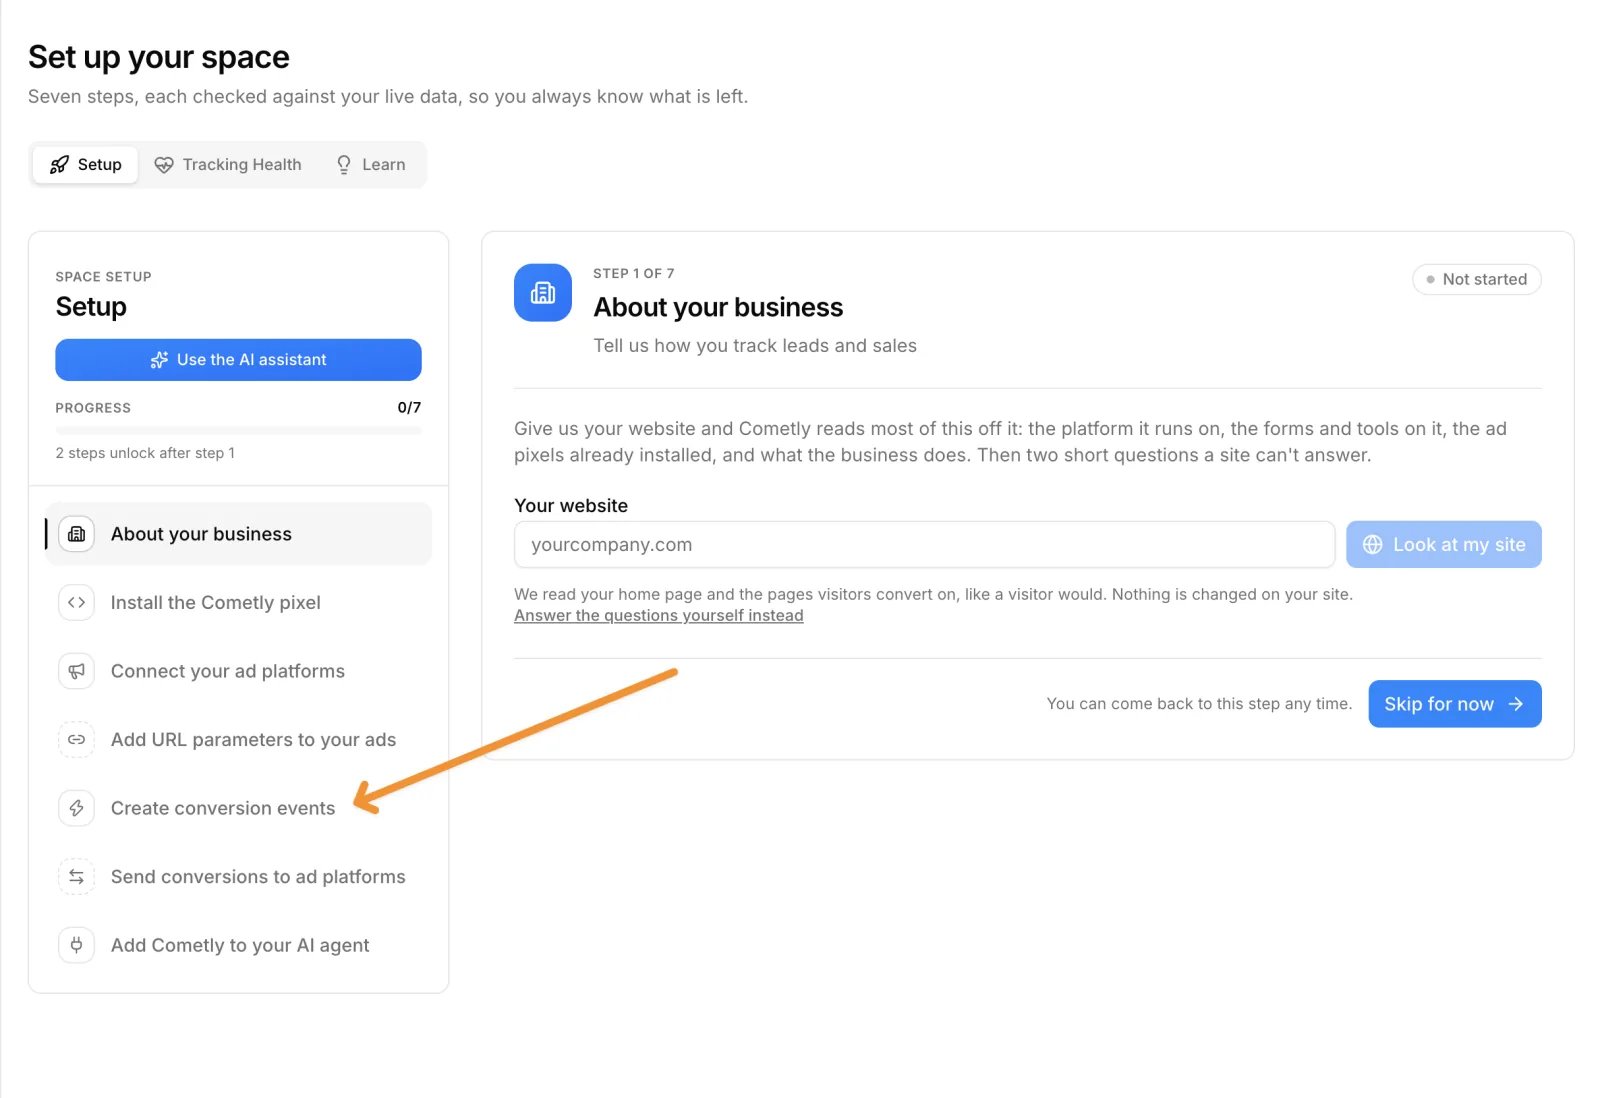
We recommend creating all of the events you want to send to Cometly before you start configuring them.- In the left sidebar, click Setup.
-
Open step 5, Create conversion events.
-
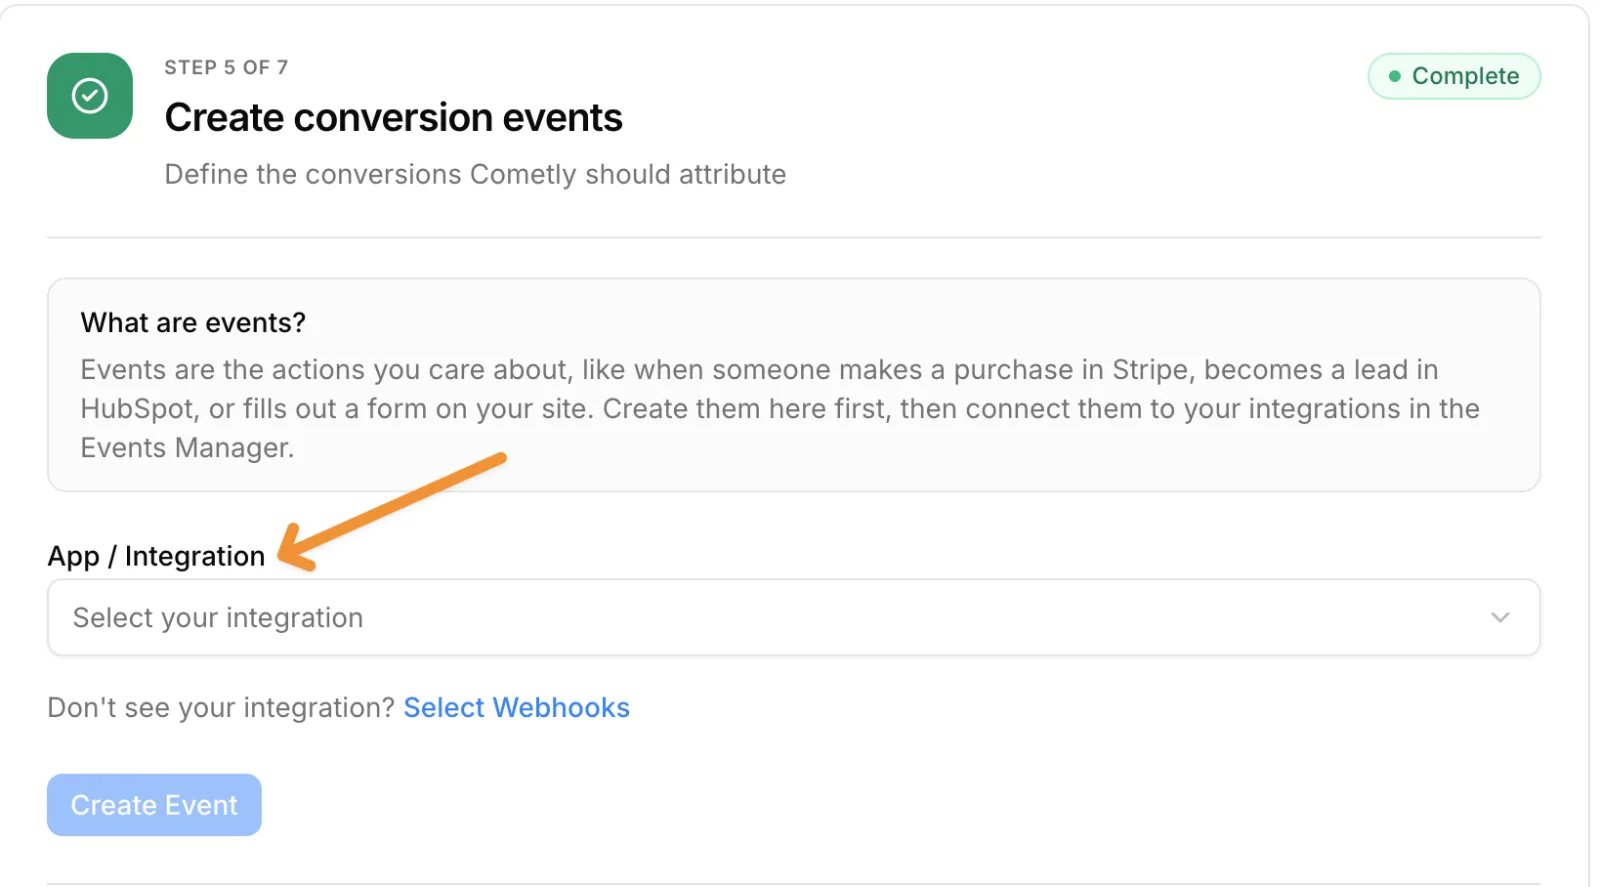
Under App / Integration, choose the app or integration that will send the data for this event.
If your integration is not listed, click Select Webhooks. Webhooks let you send data from any application, map its fields and apply filters. Each integration article says which method to choose for that app. See integrations by platform.
- Under Events, select the event name. Pick a default (built-in) event, or choose Create New Event to make a custom event. Learn more about default events and custom events.
- Optionally enter an event description, then click Create Event.
Example: If you create a custom event called “Deal Created”, these metrics appear in your Cometly reporting:
- Deal Created
- Cost per Deal Created
- Deal Created Value
- Deal Created ROAS
Configure events
If Cometly has no direct integration for the application you want to send event data from, webhooks are the easiest way to send data from it. See integrations by platform.-
In the left sidebar, click Events Manager. (From Setup, the Configure Events button takes you to the same page.)
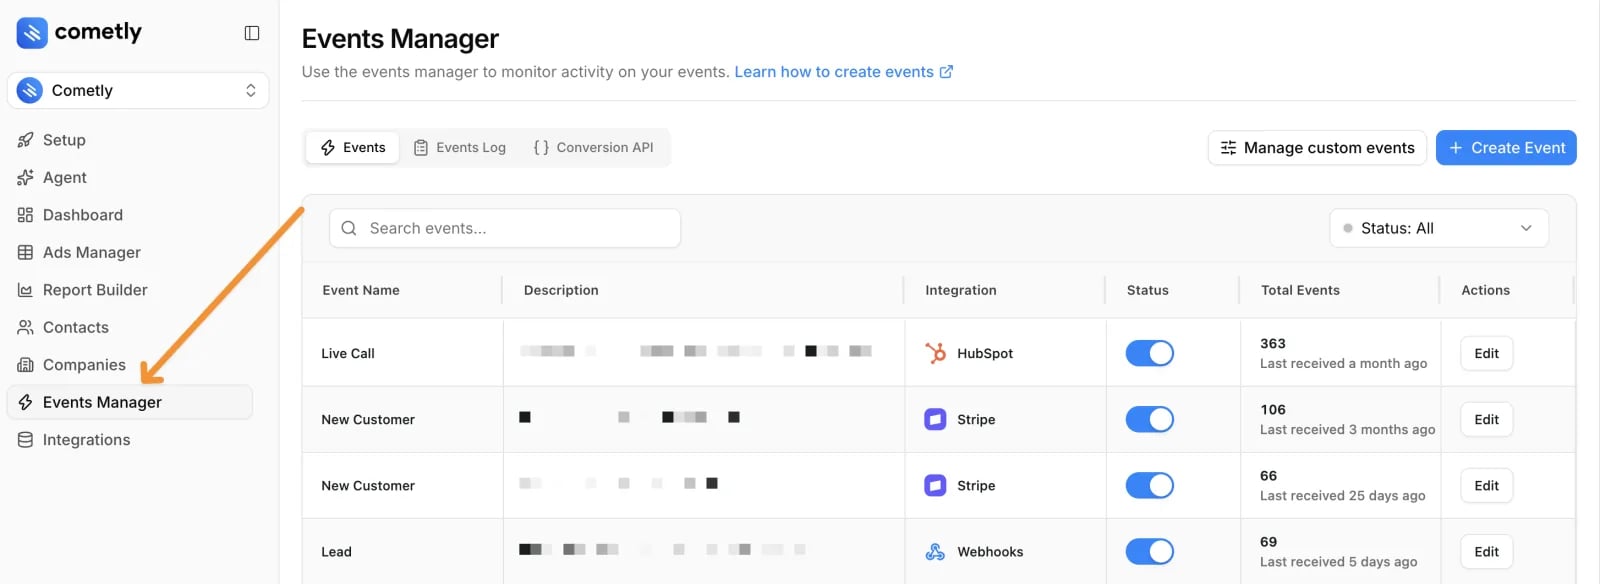
- Find the event you want to configure and click Configure, then follow the steps on screen.
Configure webhooks
Cometly webhooks let you send event data from any app to Cometly. You can map the data to Cometly fields and set up filters for events. Example: if your payment platform has no direct integration with Cometly, you can still send events like New Payment, New Trial, Converted Trial or Canceled Subscription to Cometly using webhooks. Learn how to send event data using webhooksConfigure Zapier
Zapier makes it easy to send event data to Cometly from apps without a direct integration. Example: if your CRM has no direct integration with Cometly, you can still send an event such as a deal moving to a new stage to Cometly using Zapier. Learn how to send event data using ZapierSend custom event data using webhooks, Zapier or the API
You can send events server-side from a payment platform, CRM or any other back-end system. For a custom event, theevent_name you send is the key of the custom event, not the name you gave it.
For example, if you named your first custom event Deal Created, you send the server event through the Cometly API or Zapier with the event name custom_event_1.
To find the exact value, go to Events Manager, click Manage custom events, select the event and look under How to set up your custom event.
Your options for sending event data to Cometly:
- Send events using Cometly webhooks (recommended)
- Send events using Zapier
- Send events using the Cometly API
Test your events
After you set up your events, test them to make sure everything works.- Go to Events Manager and click the Events Log tab.
- Trigger a test event using your webhook or Zapier.
- Refresh the Events Log page.
-
Check that the test event appears in the log.
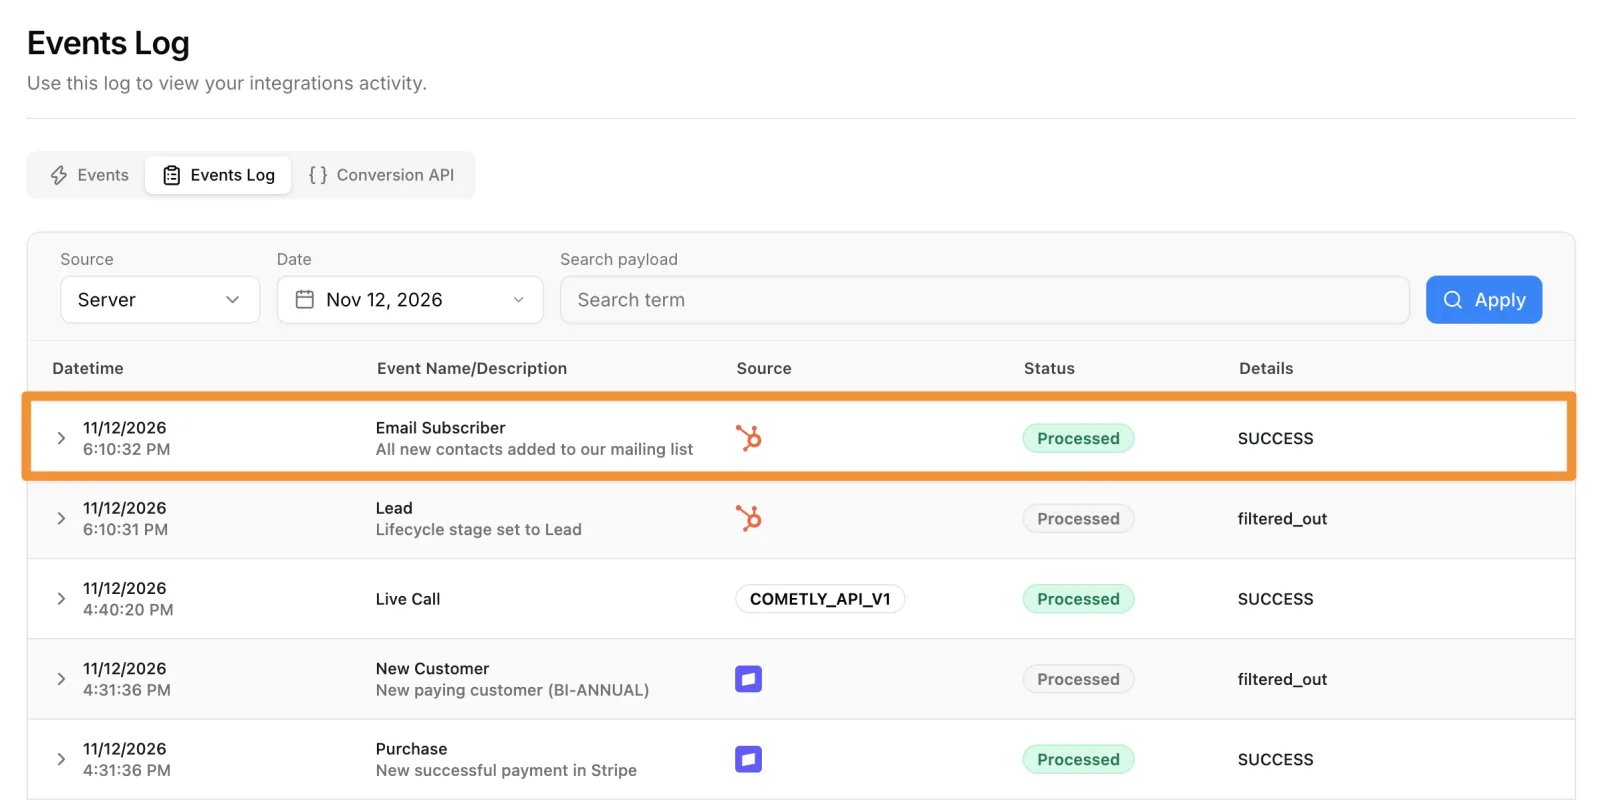
- Open the event’s details and confirm that all the information you sent is displayed correctly.
Check it worked
Your test event appears in the Events Log with the details you sent. In Events Manager, an event you have configured shows the status Active instead of Draft. On the Setup page, step 5 is marked complete once at least one event is connected to an integration.Send events to the ad platforms
You can send an event to the ad platforms under its custom event name, or map the custom event to a standard event in Cometly and send it as a standard event. Standard events in Meta are predefined actions used to track and measure what people do on your website or app. Set up the Conversion API so Cometly can send conversion data to ad platforms such as Meta, Google, TikTok, LinkedIn and Microsoft, which improves ad performance. Learn how to activate the Conversion APIFrequently asked questions
How many custom events can I create in Cometly?
Each space (a workspace in your Cometly account) has 50 custom events, on top of the standard events every space starts with. You name and manage them in Events Manager under Manage custom events.Why does my event still show as Draft in Cometly?
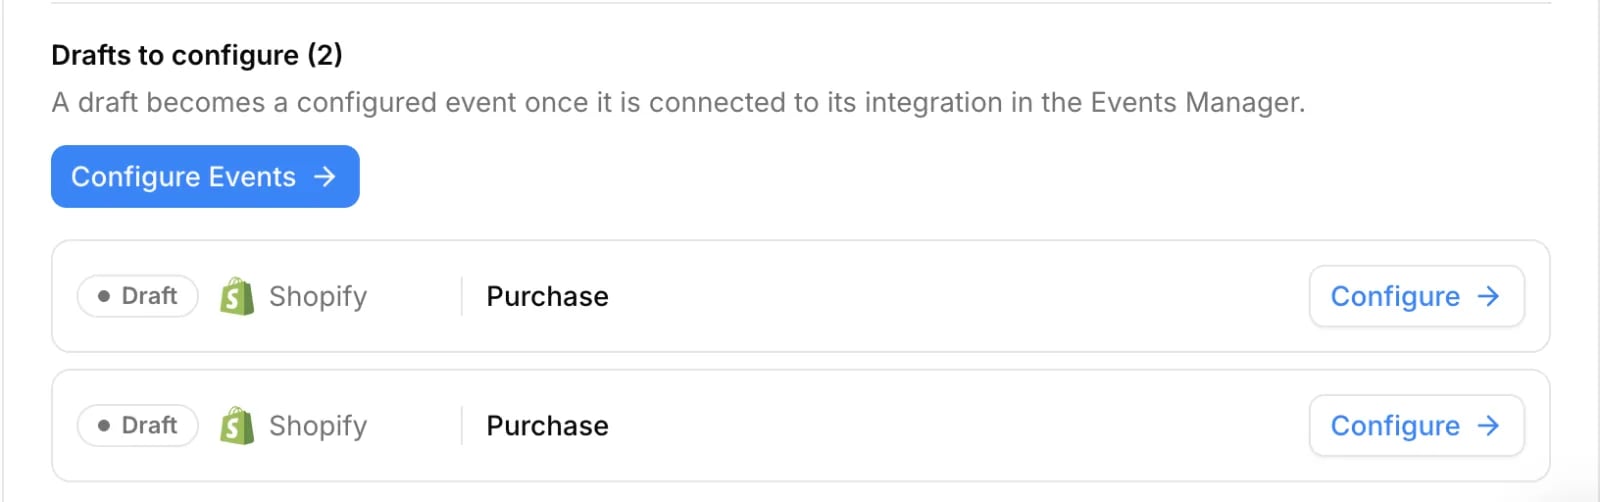
An event stays a draft until you connect it to its integration. In Events Manager, click Configure on the event and follow the steps on screen so it can start receiving data.Does the value of a custom event count toward Gross Revenue?
Only if you choose so. The Purchase event already counts toward Gross Revenue. For a custom event, tick Include this event value in the “Gross Revenue” metric in its settings, and leave it off for events whose value is only potential, such as “Deal Created”.Next steps
- Send conversions to ad platforms (Setup step 6)
- Manage custom events
- How standard and custom events work
- Send event data with Cometly webhooks
- Check your tracking health